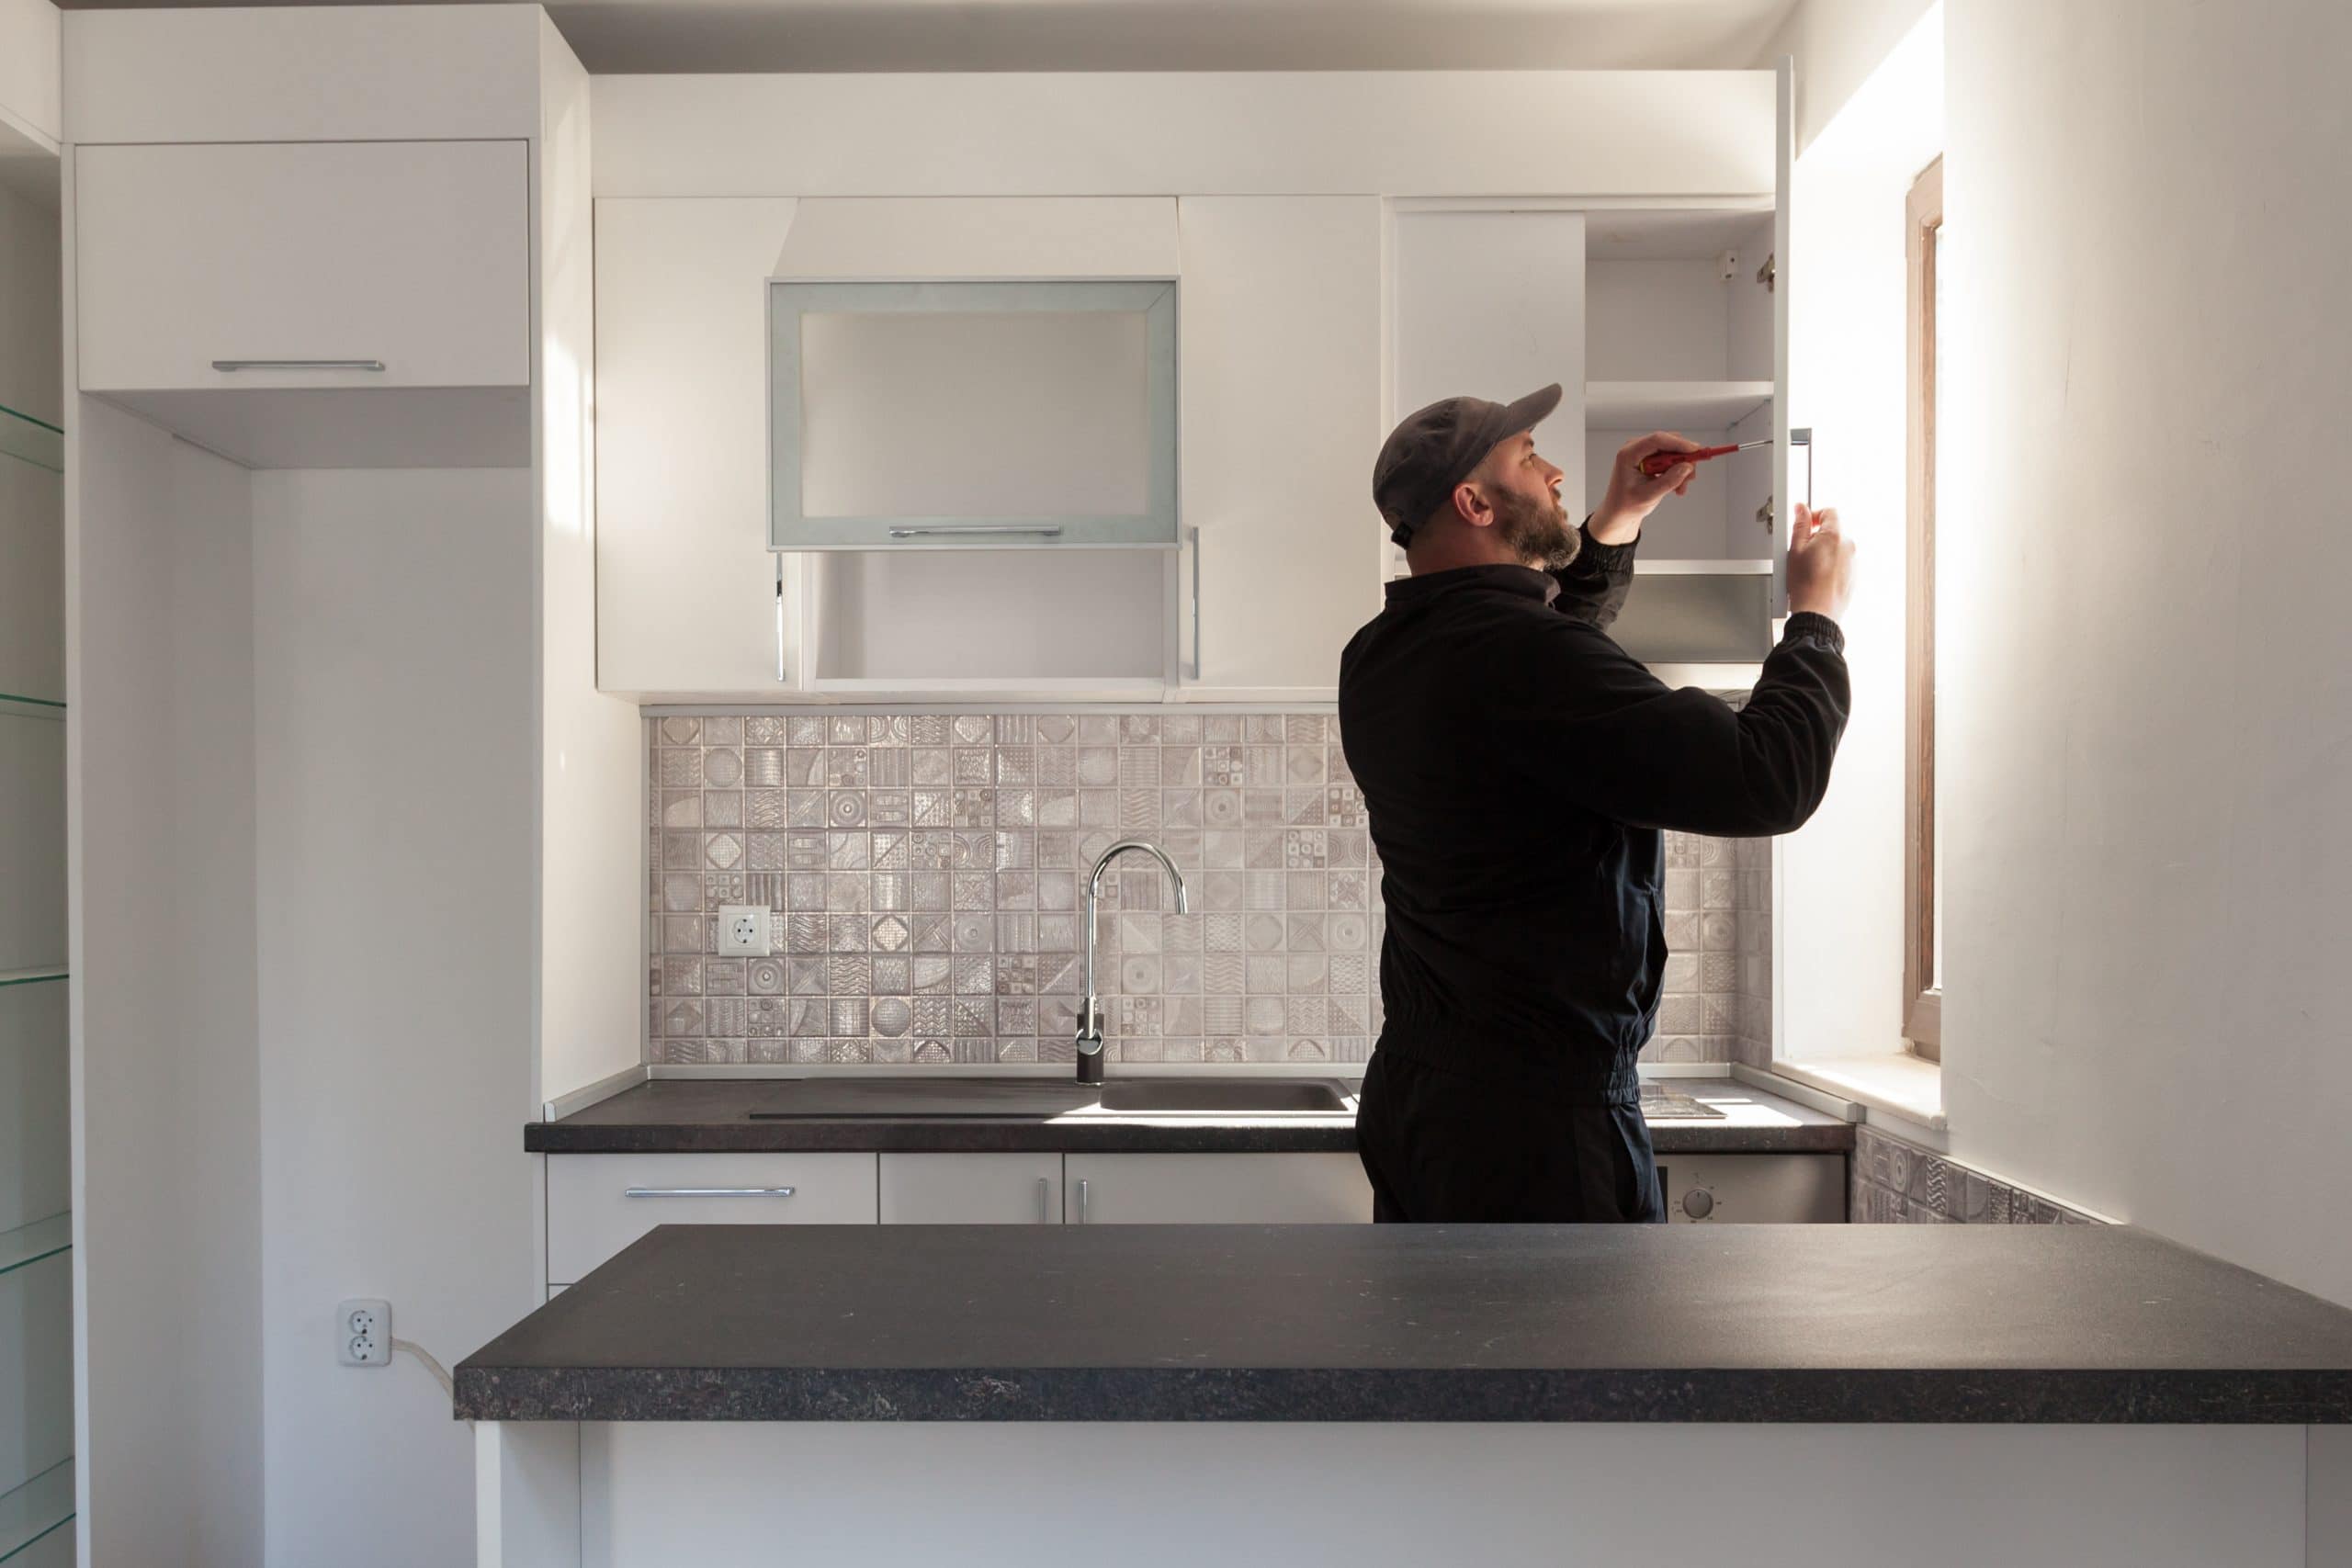
How to install kitchen cabinets? Installing your own kitchen cabinets is a fairly complicated process at first glance. However, it can be done with your own hands, if you prepare for it properly and approach the task responsibly. This way you can save on the service of hiring a specialist. But to install kitchen cabinets, you will still need outside help, as you will have to hold the furniture to fix it on the wall. How to install kitchen cabinets will tell you further below.
Preparing to install
Before you start the installation, you need to prepare a set of tools. You will need:
- a universal screwdriver with nozzles for drilling holes;
- tape measure, knife, and level;
- Phillips screwdriver, screws, and self-tapping screws;
- an impact driver and an angle.
Once the tools have been prepared, you should proceed directly to the installation process. First, take a level and make sure that all the walls in the kitchen are level. To check the rightness of the corners, you will need a construction angle. If there are any irregularities, you should fix this before you start installing the kitchen cabinets.
Also, don’t forget to take care of the electrical wiring and take out wires to connect the stove, oven, hood, microwave, and other appliances. Also consider light fixtures, faucets, and drain lines.
Marking lines for installing kitchen cabinets
First, you should determine the highest level on the floor. This can be done with a tape measure. Mark the reference line. It will be about 48 inches from the floor. Draw a horizontal strip along with these marks and measure the distance from the floor in several places. Where the lowest value will be is the top point. When it is marked, you can determine the height of the upper cabinets. Usually, this distance is no more than 34 inches.
From the top point, measure approximately 18 inches upward. This is where the upper cabinets will be located. Draw lines as they will hang. Where the lines are, mark the top and bottom points to secure the cabinets. Drill small holes in them, take the studs, and screw them into the markings, but not completely. Try on the cabinets and appliances. If it doesn’t fit, straighten out all the lines and make other marks.
Installing the upper cabinets
Before installing the cabinets, it is recommended to remove the doors, drawers, and shelves from them, so that the furniture is more convenient and easier to install. You should then mark the entire set with tape to make it easier to put everything back in place. Install the straight bar at the top of the cabinets and slightly below. Take two-inch screws and secure them through the drywall into every other rack.
Place the kitchen cabinet on the floor and align the face frame so that it matches the adjacent ones. This means that all the cabinets should be level. They need to be fastened together with screws. Drill holes through the edge of the face frame at the top and bottom. They should be fastened together with special screws. To do this, use a drill with a screwdriver.
Fixing the upper cabinets
At this stage, the help of other people will be required, because the construction will need to be lifted and held. The cabinets should be placed in the corner first so that they can be secured later. Then check with a level on the front side for evenness. If all is well, you should take 2.5-inch screws and screw them into the back of the cabinet. Spacers should be used where the posts are located for good fixing.
If the cabinet is installed correctly, all edges should line up with the mark you have pre-drawn. Secure all the cabinets by the plank. This will require holding each of them one by one. If you don’t have help, support the cabinets with a jack or other objects. Align all of their borders on the drawn line so that the furniture is evenly bolted down. Orient yourself to the first cabinet that is fixed. After installing the kitchen cabinets, you need to close the resulting gaps with special building materials.
Installing the corner cabinet
Place the side corner cabinet where it should stand. Lift it off the floor until the outer edge meets the marking line. If there are plumbing lines, you should make chalk marks on the back of the cabinets to cut out later. After that, you need to turn the cabinets over and drill all the necessary holes. This will require a circular saw.
When all the necessary holes are made, secure the cabinets with a screwdriver. Check the front side to make sure it is upright. You can use a construction level to do this. If it is not, you need to take adjustment shims and put them between the floor and the legs. When the cabinet is adjusted in height, it should be screwed through the back with screws.
Installing the base cabinets
Once the corner cabinet is installed, all the other cabinets should be attached to it as well. Slide the base cabinets toward the corner cabinet and make sure everything is level. Align each one so that the front side is level. Fasten them together with two-inch screws. On the gaskets, insert the screws and trim off the excess. Use a stationary knife to do this. The gaskets should not protrude over the edges of the cabinet. Remove all the supports and place the shelves and drawers inside.
Securing the pieces
Once the cabinets have been installed, you should hang the doors. If they are laid on, you must first adjust the hinges with a screwdriver. If the doors are inset, you should tighten the hinges so that the doors are flush with the front frame of the cabinet when they close and a small gap is left around the perimeter. Attach the trim for the backers to the lower cabinets. This will require taking 1-inch rods.
Always attach the longer pieces first, and then the shorter pieces. It’s best to trim all of their protruding parts at once. Cover any gaps between the floor and the cabinet with shoe molding. Deepen the protruding nail heads with a hammer. Coat them with wood putty or a special wax on top.
If you used moldings, bevel the joints on the outside corners and trim the inside corners. Align the bottom edge of the molding with the marking line over the tops of the doors. Secure with 1-2 inch nails. Secure the end pieces of the molding with adhesive. Deepen the nail heads with a hammer and wax them.
How to install kitchen cabinets: final thoughts
Installing kitchen cabinets — is a rather time-consuming and complex process. However, using our guide, you will be able to fix the furniture with your own hands without any problems. If you doubt your abilities, use the help of a specialist, but keep in mind: that the service will cost you 100-200 dollars per linear pound. If you want to save money, installing the kitchen cabinets yourself is better. Have patience, follow our instructions and you will succeed!


